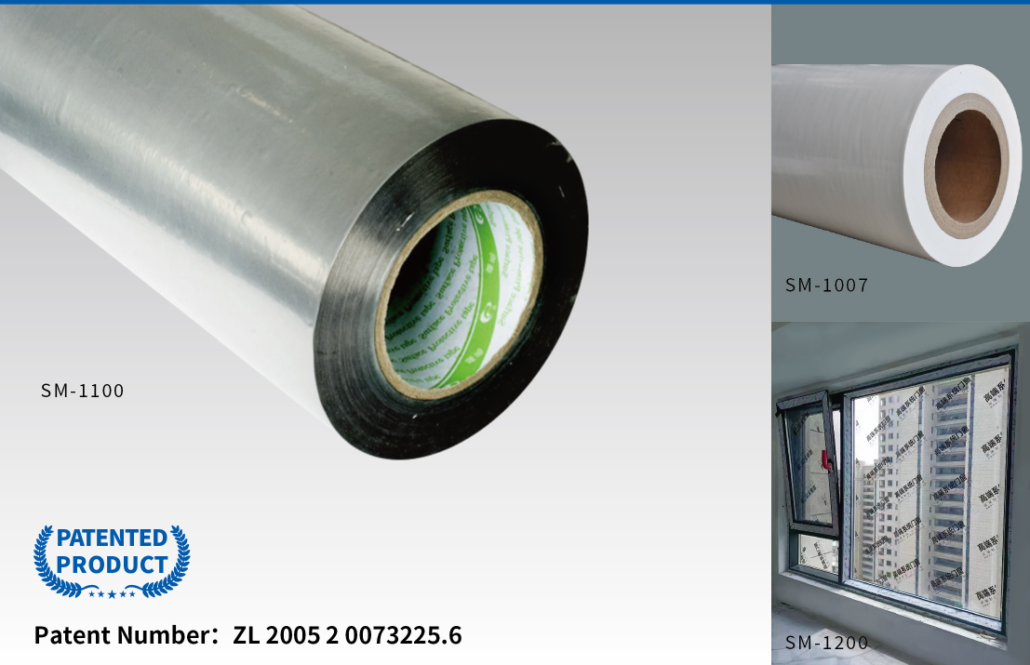
About PVC profile protective film such as how to repair the scratch method and specific operation
Methods and specific steps for repairing scratches on PVC protective film for profiles are as follows:
Method 1: Repairing scratches using a heat gun
Specific steps:
1. Prepare tools and materials: heat gun, soft cloth, fine sandpaper (2000 to 3000 grit), cleaner (such as dish soap), warm water, and clean towel.
2. Clean the scratched area: Use cleaner and warm water to clean the scratched area, removing dirt and impurities from the surface, then dry with a towel.
3. Heat the scratched area: Set the heat gun to a low temperature and medium airflow, maintaining a distance of about 10 centimeters from the scratched area. Slowly move the heat gun over the scratched area. Ensure even movement and avoid overheating or scorching the PVC material.
4. Wipe and polish: Use a soft cloth to gently wipe the heated area, smoothing the melted PVC. Then, use fine sandpaper to gently sand the scratched area until it is level with the surrounding protective film.
5. Clean and dry: Use cleaner and warm water to clean the repaired area again, removing any remaining scratches and sandpaper marks, then dry with a towel.

Method 2: Repairing scratches using PVC filler
Specific steps:
1. Prepare tools and materials: PVC filler, scraper, cleaner (such as dish soap), warm water, and clean towel.
2. Clean the scratched area: Use cleaner and warm water to clean the scratched area, removing dirt and impurities from the surface, then dry with a towel.
3. Fill the scratch: According to the instructions for the PVC filler, evenly apply the filler to the scratch and use a scraper to level it.
4. Allow the filler to dry: Wait for the filler to dry completely. The drying time may vary, depending on the instructions provided with the filler. It may take several hours or longer.
5. Sand and polish: Use fine sandpaper to gently sand the surface of the filler until it is level with the surrounding protective film. Then, use a soft cloth to polish the filled area, making it smooth.
6. Clean and dry: Use cleaner and warm water to clean the repaired area, removing any filler and sandpaper marks, then dry with a towel.
Regardless of the method used, it’s important to test on a small area first to ensure the desired results. Follow the instructions and safety guidelines provided with the products, and be careful to avoid overheating and damaging the protective film.

Leave a Reply
Want to join the discussion?Feel free to contribute!